- Tools: Laser cutter
- Software: Corel Draw
- Materials: Acrylic, wood
- The biggest challenge
- The challenging part of this project was lining the laser up to cut around the parts it had already etched.
- What am I most proud of?
- I am proud to have learned to make cuts on the laser cutter on my own without assistance.
- What would I do differently next time?
- If I were to create this again, I would take more time on the design and make more intricate cuts.
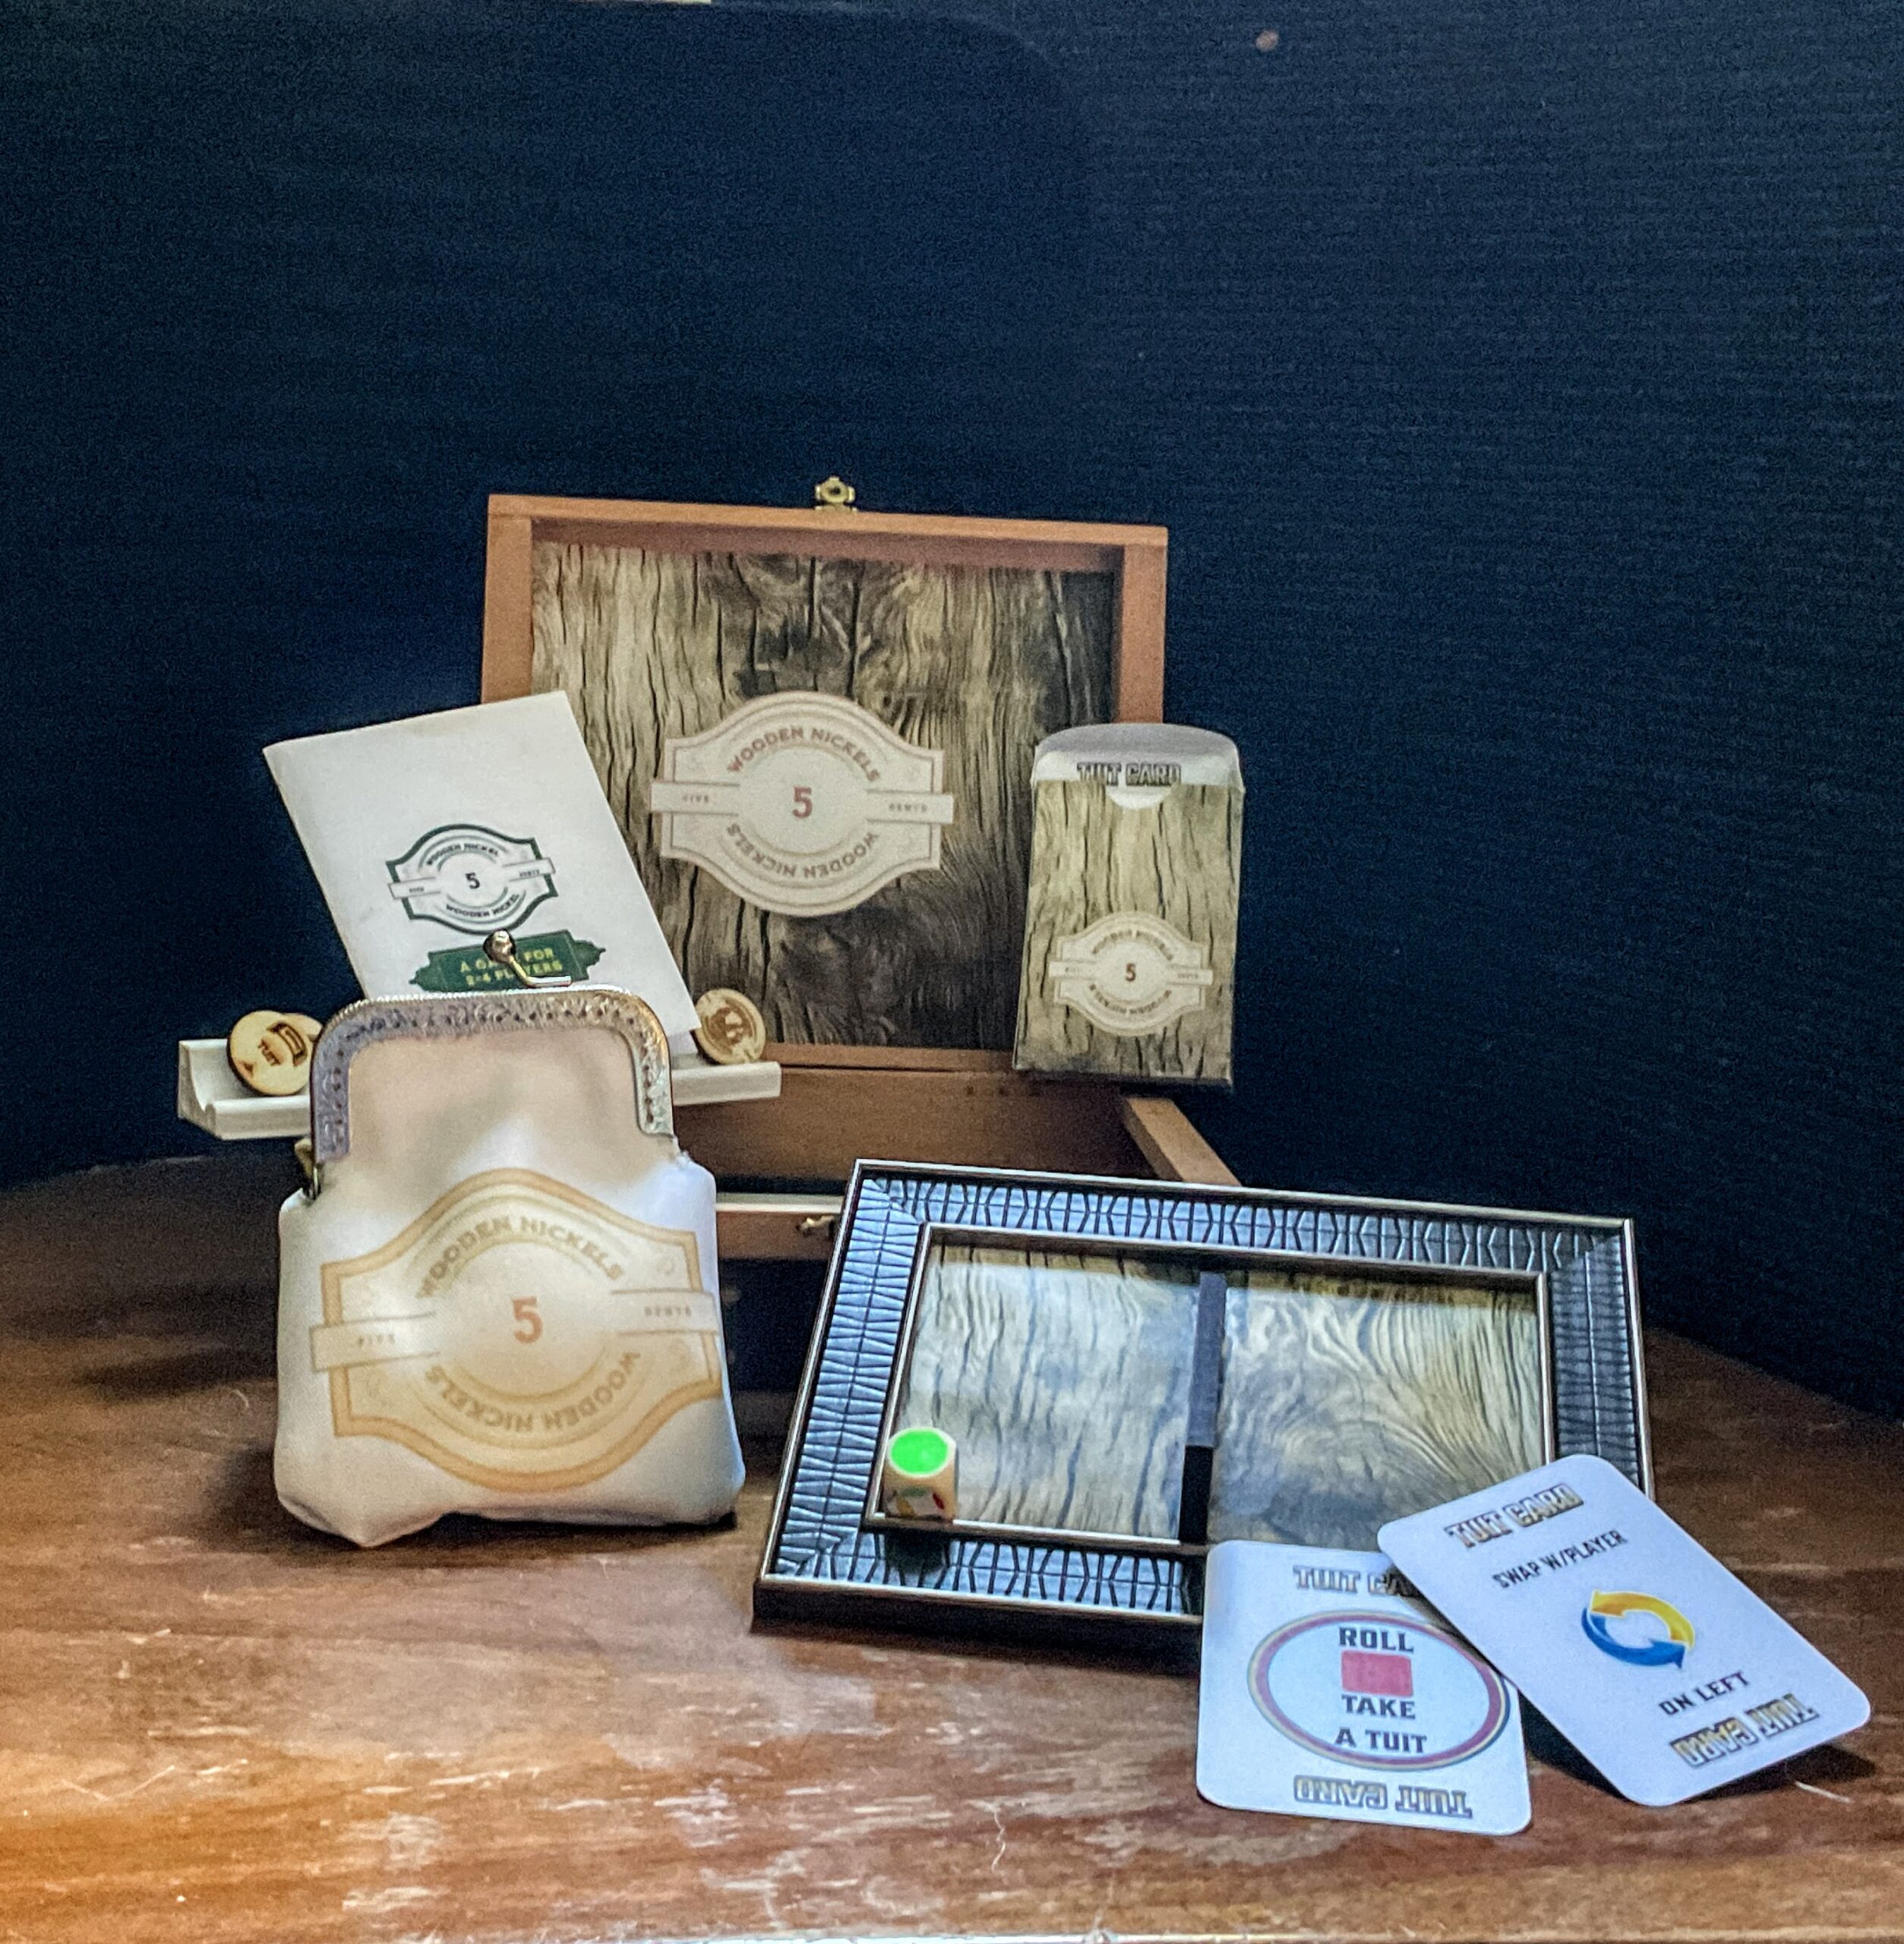
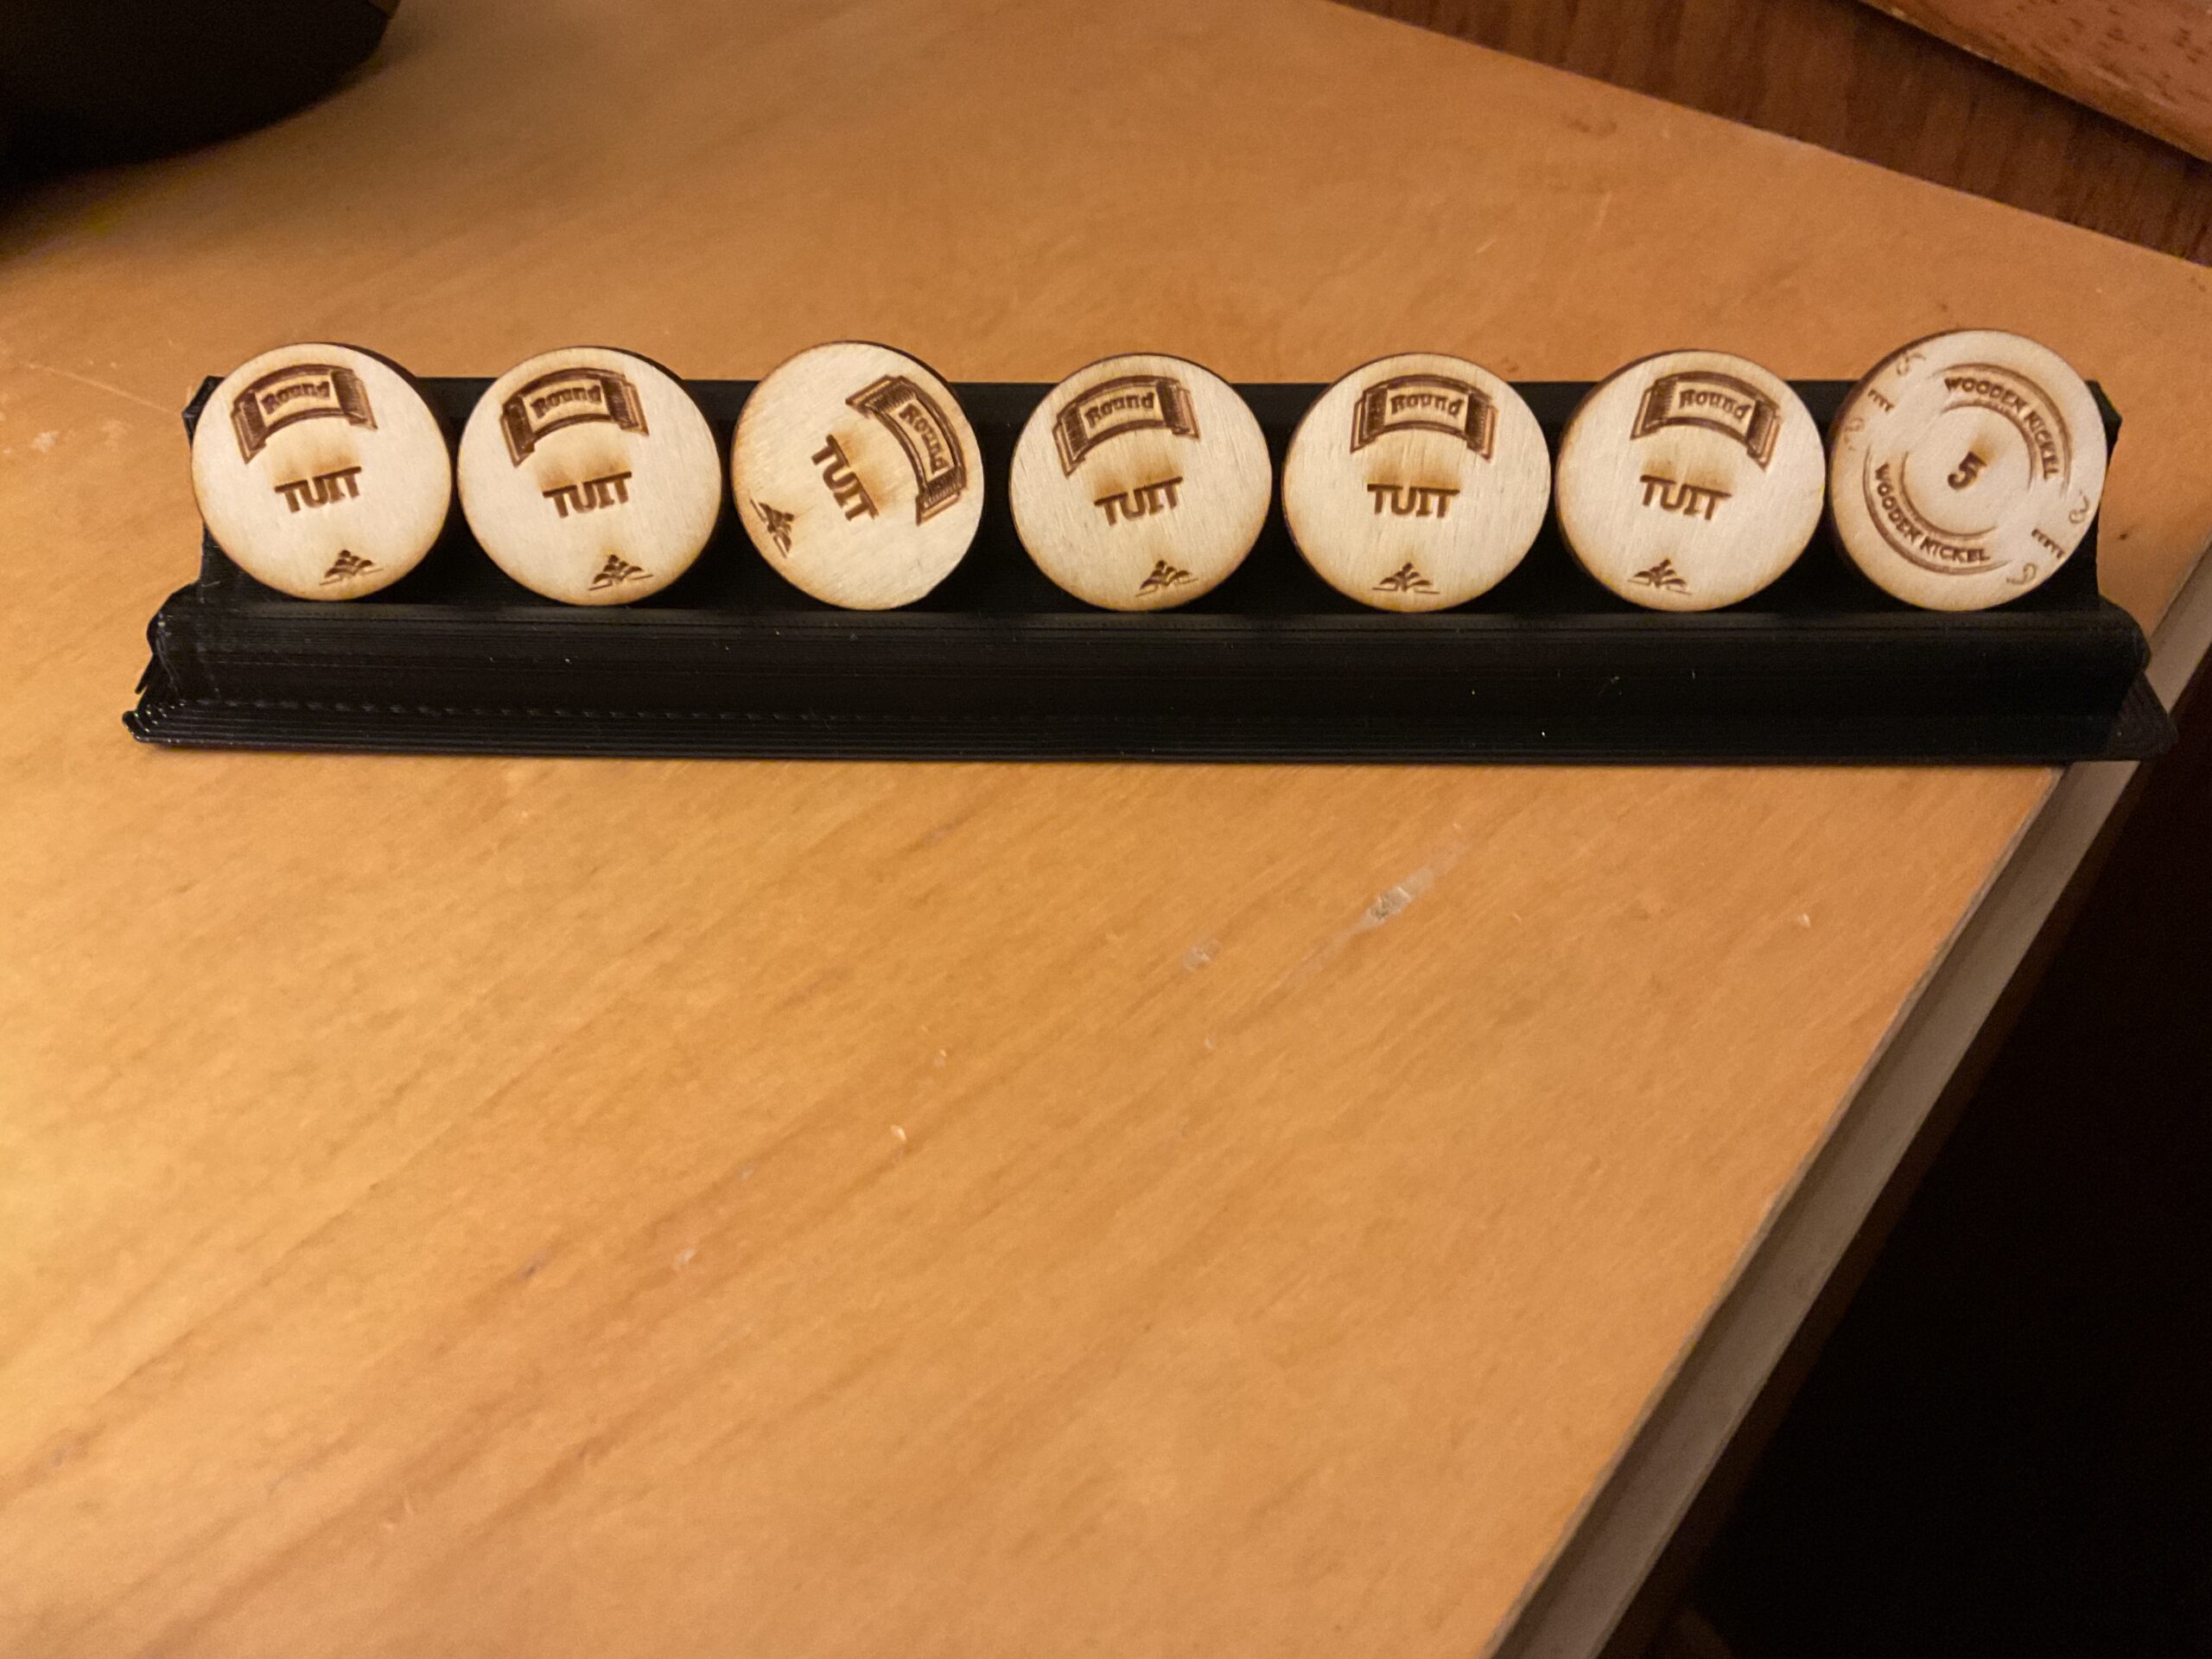
Christian demonstrated importing an SVG file into Corel Draw from his USB drive and setting the cut line to a hairline red. Not just any red, the RGB values need to be set to 255,0,0. Without that it will not cut. This I found to be important later when I did my keychain.
I made a name tag from red acrylic material as a demo project on my first week in class. I tried several options to make the text more readable from a distance. Materials I tried: black sharpie, silver sharpie, Posca markers, acrylic paint, ceramic paint, fabric paint, and nail polish. Nothing helped make the lettering stand out. I would say that trying to get the letters to “pop” was the second hardest part of this project.

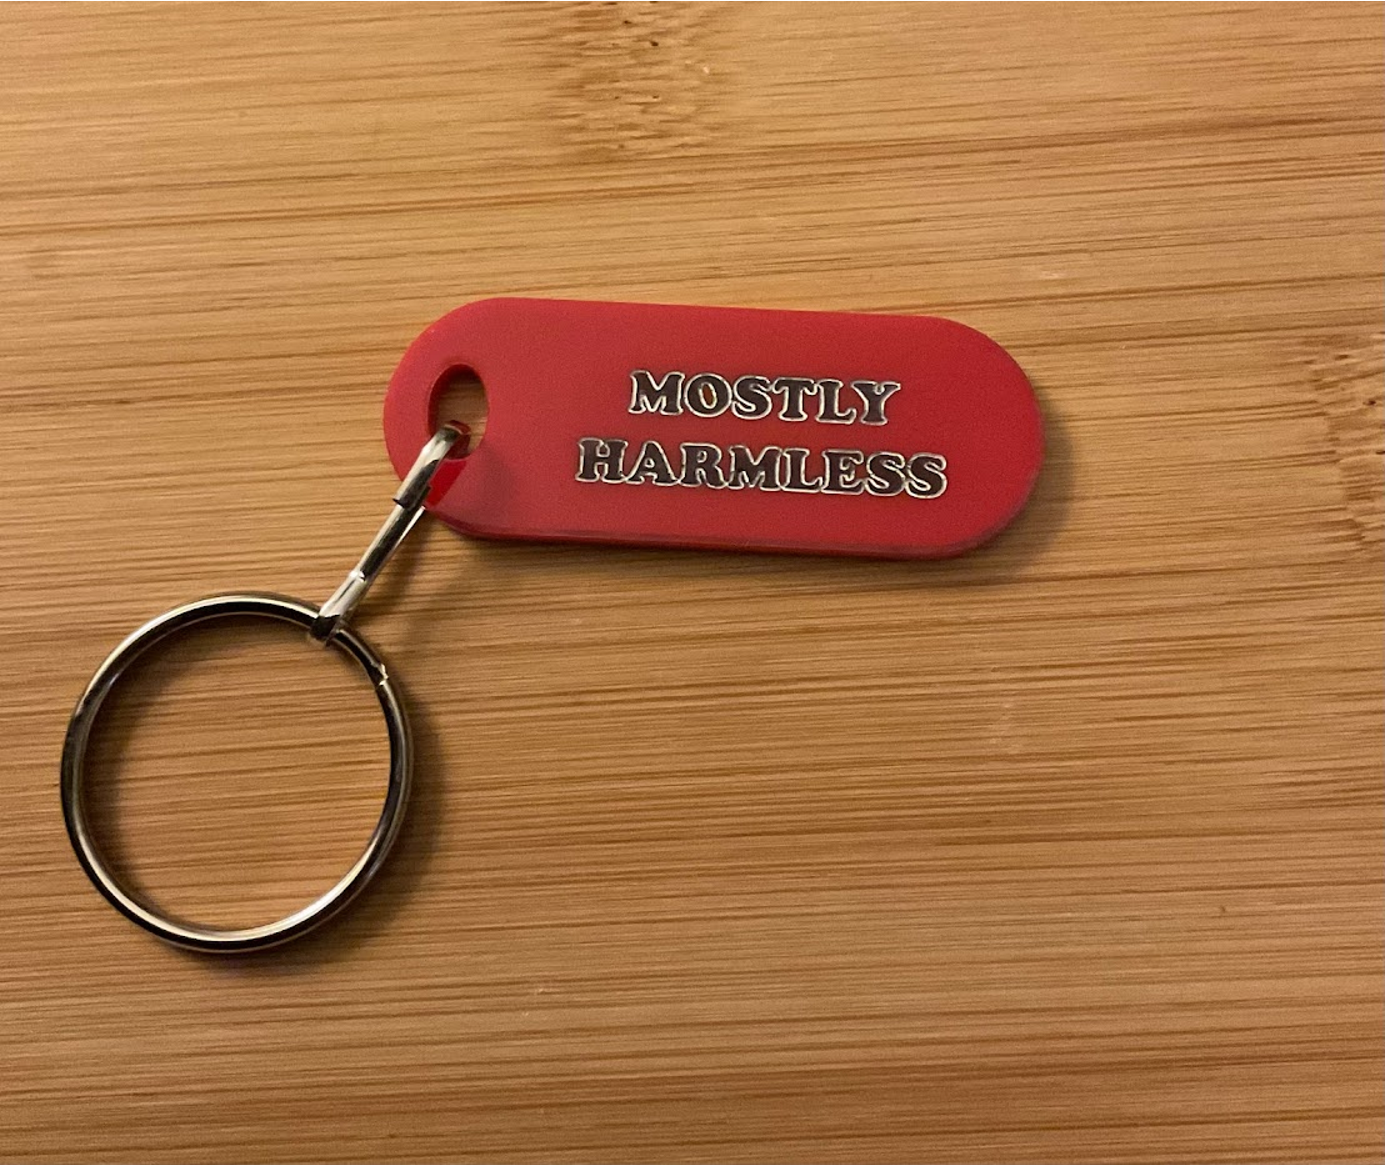
The significance of the red lines being hairline was something I missed in instruction. When I printed the “mostly harmless” keychain on in Corel Draw I was on my own, I did not see any red lines. Since they weren’t there in the cut screen, I increased the stroke width. It didn’t cut. My text had etched and there was a line around the keychain showing me where it should have cut. Chad helped me line up the laser head so that it would cut over the top of that etched line and I did not waste the material.
Because this was my first time using the laser cutter, there were a few challenges. But the most challenging part of this project was lining the laser up to cut around the parts it had already etched. Thank you, Chad for that!

I learned that the materials need to be set in Corel Draw before sending it to the final print screen, not afterward. I was changing the materials on the printed object just before hitting the GO button. It works fine, but if you change your object in Corel Draw and print it again, you have to set your material preferences all over again.
I learned to check to see that the CO2 exhaust system was turned on. When I arrived the printer was on, but the exhaust system was not.
I decided to go at the name tag again but use wood. I purchased some thin wood at the dollar store and found a small flourish to accentuate the tag. I located a thick and readable font. The hole in the demo tag was not large enough to secure the clips that were available in the Makerspace, so I made the hole very generous in size on my improved (and readable)model.