- Tools: Mimaki sublimation printer
- Software: Adobe Illustrator
- Materials: synthetic fabric
- The biggest challenge:
- The biggest challenge was determining the right temperature and duration of the press. The first press was a little short on the pressing time as well as the temperature so the print is not as vibrant.
- What am I most proud of?
- I think the fabric I chose was perfect for a vibrant sublimation
- What would I do differently next time?
- I would have chosen a pre-made curtain as that is the final product of what this will be. Now I have to sew a rod pocket to create a curtain.
Instructions for using Mimaki for sublimation
Printer must be set on “REMOTE”
- Open Mimaki RasterLink Plus (should be open on the task bar)
- open your graphics files
- Press the property icon of the job to display the Job list.
- Select each job to combine and click “arrange”
- “release” will remove that job from the current print queue arrangement.
- Click the “arrange” icon to view and modify the placement of your graphics
- Click the “Execution” icon, Check that the Mimaki is online and set to “Remote Print”
- Click Start
- Use the “down” button on the Mimaki to advance the paper enough to cut
- Use a hobby knife to cut
I found full instructions archived online and copied them here in case they disappear from the web someday. .RasterLink6Plus Guide
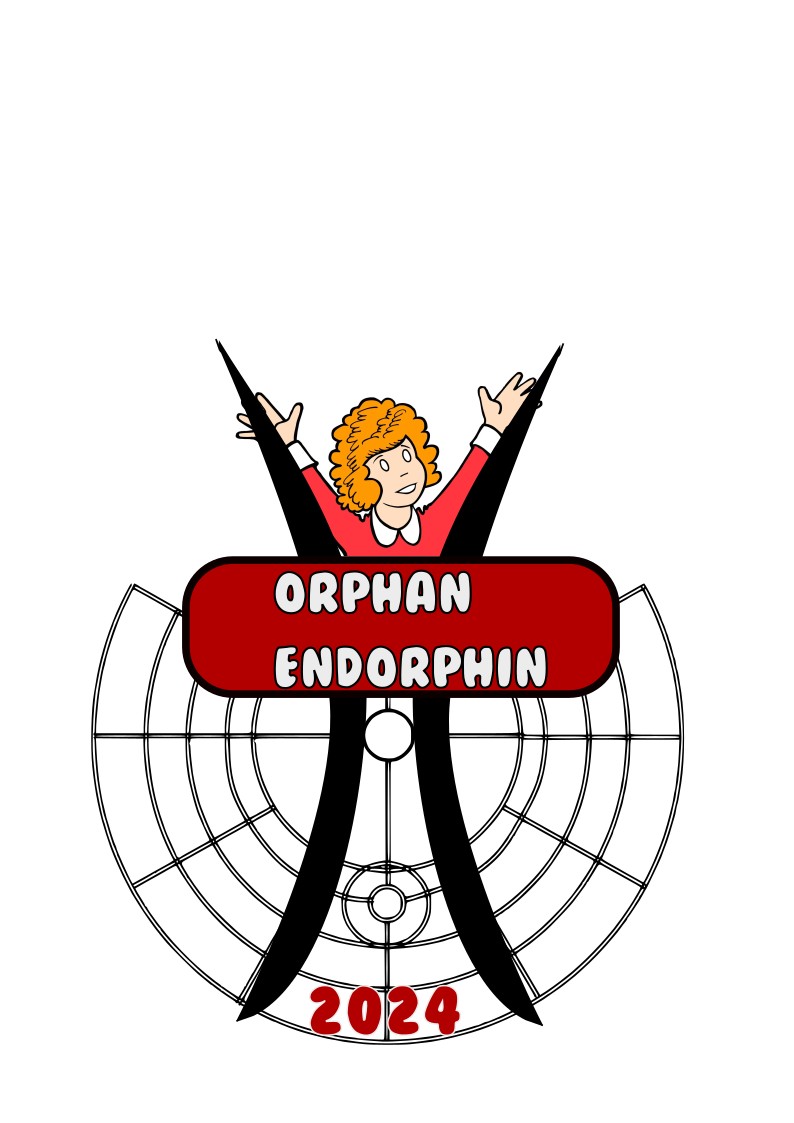
I purchased some synthetic fabric at a thrift store to use in the sublimation unit. I designed the graphic after my lesson with Mark Webster in Inkscape. The design hours were counted toward my MAKR 151 unit.
I got the opportunity to work on sublimation in MAKR140. The Mimaki machine has a 61″ carriage, so it made sense to print several designs on one line. A number of us had prints we wanted to make. Professor Hogan showed the first person in line how to add her design to the Mimaki queue, then she asked that person to teach the next and the process continued until everyone was finished. What a wonderful technique! Hats off to Professor Hogan.
Professor Hogan noticed that my first press was not hot enough and that my design could be more vibrant. She suggested I use the same sublimation print and wait for the press to get hotter as there was still quite a lot of ink on it. You can see that my second pressing is much richer in color than the first. She also brought in a hanging clamp from IKEA that looked like it would be perfect to finish off this banner. I considered this option, but decided to go with a rod pocket and curtain rod instead.


I think most of us are reluctant to do something that we are bad at doing. I am not good at sewing. Having spent some time in the craft room, I decided to pull out my sewing machine and stitch up some rod pockets to turn these into curtains . Not great, but better than I thought it would turn out.
I